Copper and copper alloys
Metallographic Preparation Solutions by Material
Use this guide for advice on where to start when performing metallographic preparation and analysis on copper and copper alloys. Included are tips for achieving the best results for your metallographic application.
Things to consider when working with copper and copper alloys
Copper and copper alloys are ductile and malleable materials. When completing steps prior to polishing with copper or copper alloys it’s important to reduce damage as much as possible. Copper, being a softer material, is more susceptible to rough sectioning or grinding.
Copper and Copper Alloys Cutting Tips
Abrasive Cutting Tips
Abrasive blades have different bond strengths and are recommended based on the efficiency of their bond strength and abrasive type with different materials. Choosing an incorrect blade can lead to an improper wear rate and possibly alter the existing microstructure. An abrasive blade is entirely made up of abrasive that is bound together by a resin. When used, blades get smaller in size until they can no longer cut. A new blade can then be put on the sectioning piece of equipment to make additional cuts.
The size of the abrasive blade also affects cutting parameters. Larger, thicker blades remove more material but also generate more heat than a thinner blade. To reduce the heat produced by blades the feed rates should be lowered.
Abrasive wheels/blades should be selected according to the type of material and the size of part to be cut.
Recommended Abrasive blade for Copper and copper alloys | |||
---|---|---|---|
10in (254mm) | 12in (305 mm) | 14in (356mm) | 16in (406mm) |
102512P 0.06in [1.5mm] | 103012P 0.079in [2mm] | 103512P 0.1 [2.5mm] | 10-31650-010 0.125in [3mm] |
Precision Cutting Tips
Precision cutters are used in metallographic preparation of copper when cutting samples that are small or delicate. Precision blades don’t break down as they are being used. On the outer edge of the blade there is a section where abrasive has been bonded with metal alloy and if taken care of one wafering blade can outlast a box of abrasive blades. Wafering blades can be used with copper for more difficult cuts including making a precise cut close to a feature of interest, or when it is critical to reduce the width of a cut (kerf loss).
Additional benefits of using a precision cutter are a lower load is applied and consequently, less heat is generated, reducing the amount of damage relative to abrasive cutting.
Abrasive blades are also made for precision cutters. They can be used when potential for blades breaking is high. This could be if you have a difficult to clamp part, have a part that might shift during sectioning or you have more variability in the process (ex: multiple operators).
Recommended Precision blades for Copper and copper alloys | |||
---|---|---|---|
5in (127mm) | 7in (178mm) | 8in (203mm) | Dressing Stick |
11-4215 0.020in [0.5mm] | 11-4237 0.025in [0.6mm] | 11-4238 0.035in [0.9mm] |
11-1190
11-2490 |
Copper and Copper Alloys Mounting Tips
Mounting metallographic samples can allow automation and increase ease of handling during the subsequent steps of metallographic preparation and examination. Intricately shaped samples can be mounted to create uniform shapes allowing automation of the sample preparation process.
Mounting helps protect and preserve edges or surface defects during metallographic preparation. The method of mounting should in no way alter the microstructure of the specimen. Pressure and heat are the most common sources of injurious effects. Temperatures around 350oF and pressures around 4200 PSI are common for hot compression mounting.
Sample geometry and properties can determine the appropriate method for mounting copper samples. Use castable mounting when samples are thin or deformed easily. Samples such as these tend to be sensitive to high pressures. If samples are not sensitive to pressure, hot compression mounting can be a time and money saver.
For electron microscopy ProbeMet might be the conductive media you are looking for. If copper content is of interest in the sample KonductoMet® is a conductive alternative to ProbeMet.
Careful selection can ensure media meets mounting needs regarding timing, viscosity, temperature, and shrinkage. Acrylic systems can increase throughput with quick curing times between 5 and 30 minutes. Though quicker in curing, sample adhesion and viscosity of acrylics can sometimes be lacking especially with more intricate shapes. This is where epoxy systems can help. With longer working times mixed epoxy can be used with a vacuum system to help penetration levels in intricate geometries. Our epoxy systems also offer lower peak exothermic systems. Additional information can be found on our mounting page.
Copper and Copper Alloys Grinding & Polishing Tips for All Methods
Deformation in Copper and copper alloy samples tend to be harder to remove. CarbiMet® SiC papers are an effective choice when grinding samples. Papers should be discarded after two minutes of grinding to ensure efficient grinding and prevent burnishing. A longer-lasting alternative is the DGD Color, a resin-bonded fixed abrasive disc, which provides efficient grinding of ductile materials.
Copper and copper alloys can be susceptible to diamond embedding during polishing. If seen, formulations of our MetaDi® Supreme Diamond paste can be used with MetaDi fluid extender. Paste is rubbed into the cloth fiber and is more likely to adhere to the cloth with less tendency to embed in the sample surface. Another alternative is to use scentless candle wax or paraffin wax on silicon carbide paper. Wax can be applied to the paper to help silicon carbide particles from embedding in samples.
A vibratory polishing step with MaterMet® after mechanical polishing can be helpful in creating a scratch-free surface.
Using Buehler’s Burst dispensing system can conserve diamond and improve preparation consistency.
The ideal rate for the Burst dispensing system changes with the size of the platen and the polishing cloth that is being used. As a general guideline, for platen size of 8” a burst setting of 3 is a good starting point, for sizes of 10″ and 12″ set the burst system to 4 and adjust as needed. Some experimentation may be required to determine optimal settings to ensure sufficient abrasive and wetting of the cloth. Burst dispensers are also capable of dispensing extenders simultaneously with diamond, if desired.
Loads listed in grinding and polishing methods are recommendations for one 1.25″ mounted specimen. If using central force during preparation the force listed should be multiplied by the number of samples being polished. For different sample sizes, use our load conversion calculator to determine the correct load for your application.
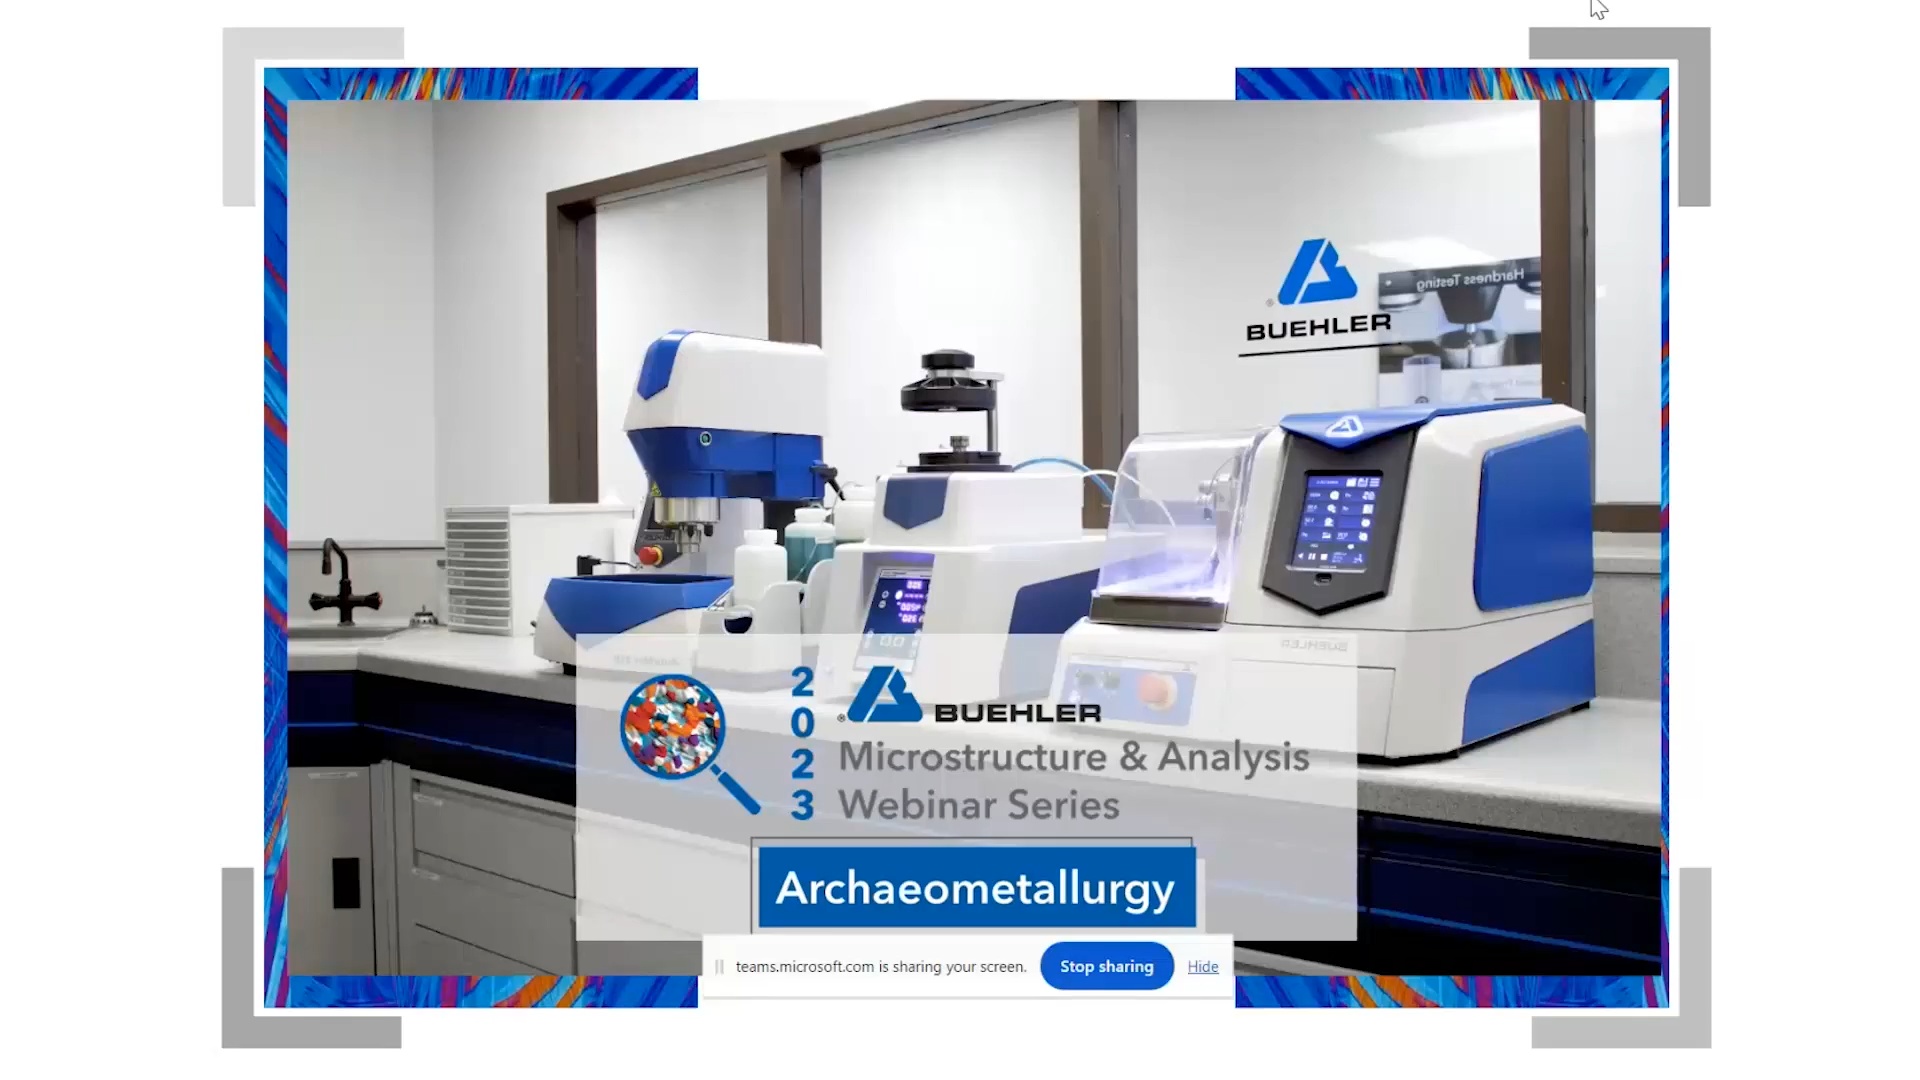
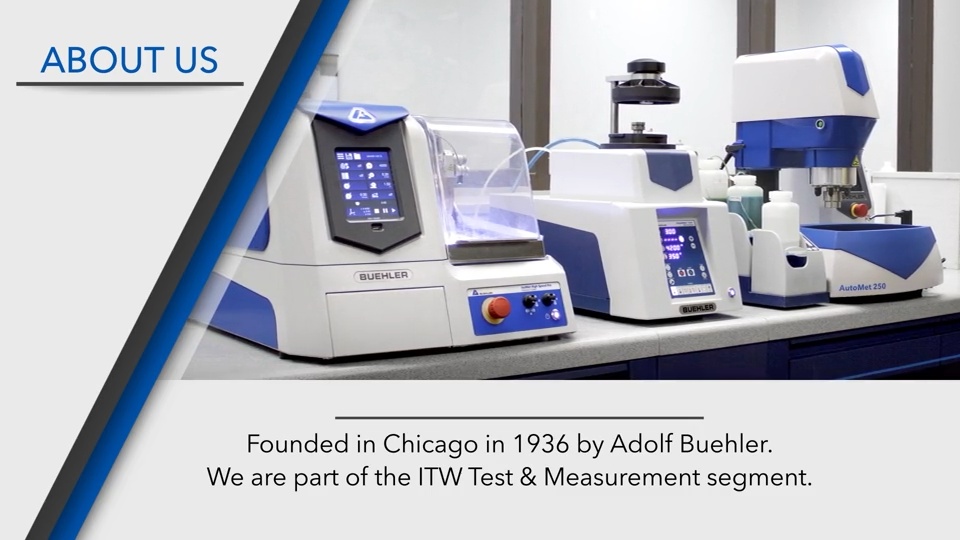
Procedure for Grinding and Polishing Copper and copper alloys (General) | ||||
---|---|---|---|---|
Surface | Loads [N] | Base Speed [rpm] | Relative Rotation | Time |
CarbiMet® 220 grit to 320 grit | 5 [22] | 300 rpm | Until Plane | |
TexMet® C with 9um MetaDi Supreme Diamond | 5 [22] | 150 rpm | 5:00 | |
VerduTex with 3um MetaDi Supreme Diamond | 5 [22] | 150 rpm | 3:00 | |
VerduTex with 1um MetaDi Supreme Diamond Colloidal Silica | 5 [22] | 150 rpm | 2:00 | |
ChemoMet® with MasterMet® Colloidal Silica | 5 [22] | 150 rpm | 1:30 | |
= Platen = Specimen Holder *Plus MetaDi Fluid Extender as desired |
Copper and Copper Alloys Etching Tips
Table 20.6: Copper, Nickel and Cobalt: Copper and Alloys | |
---|---|
Composition | Comments |
25mℓ NH4OH 25mℓ water (optional) 25-50mℓ H2O2 (3%) | General purpose grain contrast etch for Cu and alloys (produces a flat etch for some alloys). Use fresh, add peroxide last. Use under a hood. Swab specimen 5-45 seconds. |
100mℓ water 10g ammonium persulfate | General purpose etch for Cu and alloys. Immerse or swab for 3-60 seconds. Reveals grain boundaries but is sensitive to crystallographic orientation. |
100mℓ water 3g ammonium persulfate 1mℓ NH4OH | General purpose etch for Cu and alloys, particulatly Cu-Be alloys |
70mℓ water 5g Fe(NO3)3 25mℓ HCl | Excellent general purpose etch, reveals grain boundaries well. Immerse specimen 10-30 seconds. |
300mℓ Ethanol 2mℓ HCl 0.5 -1mℓ Selenic Acid | Beraha's Selenic Acid Etchant for brass and Cu-Be alloys. Pre-etch the sample is useful for clear grain-boundary. Immerse sample until surface is violet-blue to blue. Use plastic tongs and storage in dark bottle. If the reaction is too fast and the color changes too quick, use 0.5mL selenic acid. |
50mℓ Stock Solution* 1g K2S2O5 | Klemm’s I reagent. It is a good etchant for beta brass, alpha-beta brass, and bronzes. Immerse for 2 minutes or more and gently wave the sample until the surface is colored. For alpha brass, the reaction is very slow, usually up to 60 minutes. |
50mℓ Stock Solution* 1g K2S2O5 | Klemm's III reagent. Excellent etchant for copper alloys and best for the cartridge brass. Although the color range was limited, results were very good in bright field. Polarized light and sensitive tint improves color response. Immerse sample 3-5 minutes for bronze alloys. |
5mℓ Stock Solution* 45mℓ Water 20g K2S2O5 | Klemm's III reagent. Excellent etchant for copper alloys and best for the cartridge brass. Although the color range was limited, results were very good in bright field. Polarized light and sensitive tint improves color response. Immerse sample 3-5 minutes for bronze alloys. |
*Stock solution: aqueous cold-saturated Na2S2O3 solution |
Copper and Copper Alloys Imaging Tips
Depending on the alloy and application the goal of analysis can differ. Some common goals of analysis are porosity, contaminants, grain structure, phase percent and dimensional measurements. Dimensional measurements can be taken and saved using one of the lower levels of our OmniMet® software. For more comprehensive analysis and exporting needs, more advanced versions of the OmniMet software may be required.
Copper and Copper Alloys Hardness Testing Tips
Reference Materials for Hardness Testing | ||
---|---|---|
ASTM | ISO | |
Brinell | E10 | 6506 |
Rockwell | E18 | 6508 |
Vickers | E92,E384 | 6507 |
Knoop | E384 | 4545 |
Instrumented | E2546 | 14577 |
Conversions | E140 | 18265 |
ASM Handbook Volume8: Mechanical Testing and Evaluation | Hardness Testing Section |
At Buehler, the equipment offered is made to perform at least one of the following scales: Brinell, Rockwell, Vickers and Knoop. If utilizing a scale previously mentioned there are standards for the method of testing. Standards such as the ones listed in the table are good places to reference the proper method of testing for the scales. Requirements for equipment, samples, testing methods and more are described within that can help determine the correct scale.
Equipment capabilities vary in levels of automation and documentation. Some pieces are integrated with hardness testing software. Software such as Buehler’s DiaMet can assist with testing parts more efficiently, accuracy and result documentation. This can be especially helpful when a large amount of indents must be done on one part.
Related Products
All Solutions by Material
Choose a material to view Buehler's resources
Visit our literature section
View our tools and training
Contact Buehler Service
Visit our E-Shop