Titanium and titanium alloys
Metallographic Preparation Solutions by Material
Use this guide for advice on where to start when performing metallographic preparation and analysis on titanium and titanium alloys. Included are tips for achieving the best results for your metallographic application.
Things to consider when working with titanium and titanium alloys

Titanium is an abrasion-resistant material that is difficult to prepare. Titanium alloys don’t pose as much of a challenge as their pure counterpart. Twinning is easily introduced into the system when sectioning and grinding. It’s important to minimize damage as much as possible during the preparation steps. Because of its abrasion resistance grinding and sectioning can take a longer time than with other materials.
A vibratory polishing step with MasterMet® with an attack polish component can be helpful in creating a scratch-free surface for titanium and titanium alloys. Attack polish options can be found in the grinding and polishing section of this page.
Titanium and Titanium Alloys Cutting Tips
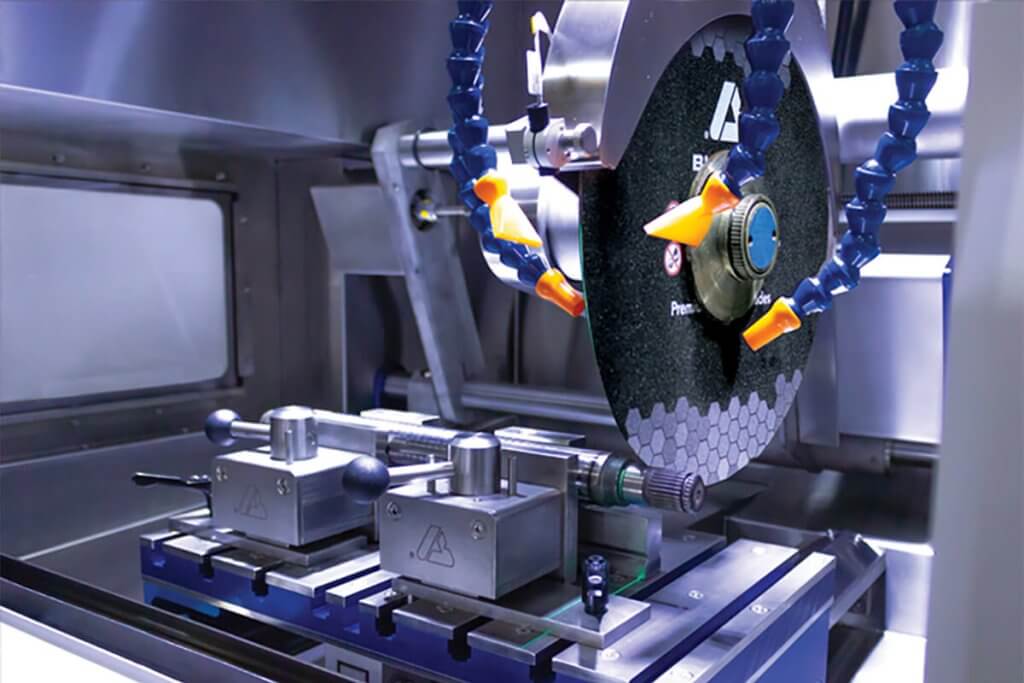
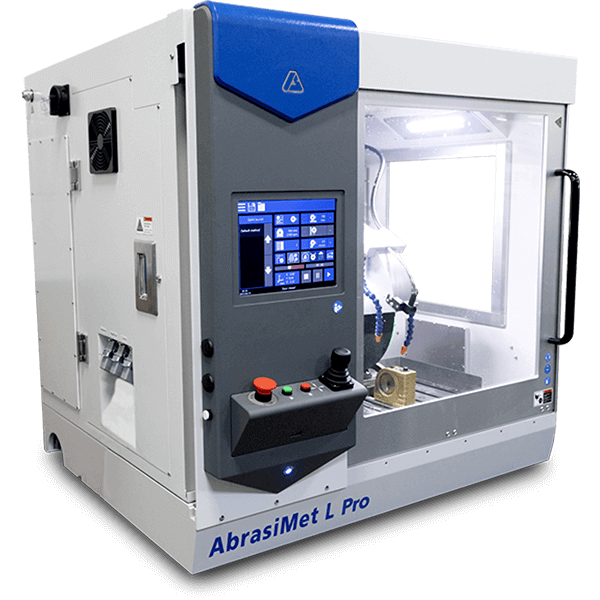
All sectioning should be performed wet, with an ample flow of coolant directed into the cut. Wet cutting will produce a smoother surface finish than a dry cut. Using coolant will also guard against surface damage caused by overheating and mechanical strains. Reducing damage while sectioning is important. Mechanical damage, such as fractures can penetrate deep into the structure and make later preparation steps longer. There are two main types of cutting tools offered: Abrasive and Precision.
Abrasive Cutting Tips

Abrasive blades have different bond strengths and are recommended based on the efficiency of their bond strength and abrasive type with different materials. Choosing an incorrect blade can lead to an improper wear rate and possibly alter the existing microstructure. An abrasive blade is entirely made up of abrasive that is bound together by a resin. When used, blades get smaller in size until they can no longer cut. A new blade can then be put on the sectioning piece of equipment to make additional cuts.
The size of the abrasive blade also affects cutting parameters. Larger, thicker blades remove more material but also generate more heat than a thinner blade. To reduce the heat produced by blades the feed rates should be lowered.
Abrasive blades for titanium are made with a relatively soft bond and a hard silicon carbide abrasive. This ensures fresh abrasive is continuously available for cutting.
| Recommended Abrasive blade for titanium and titanium alloys | |||
|---|---|---|---|
| 10in (254mm) | 12in (305mm) | 14in (356mm) | 16in (406mm) |
| 102507P 0.06in [1.5mm] | 103007P 0.079in [2mm] | 103507P 0.098 [2.5mm] | 12-5645-010 0.075 [1.9mm] |
Precision Cutting Tips
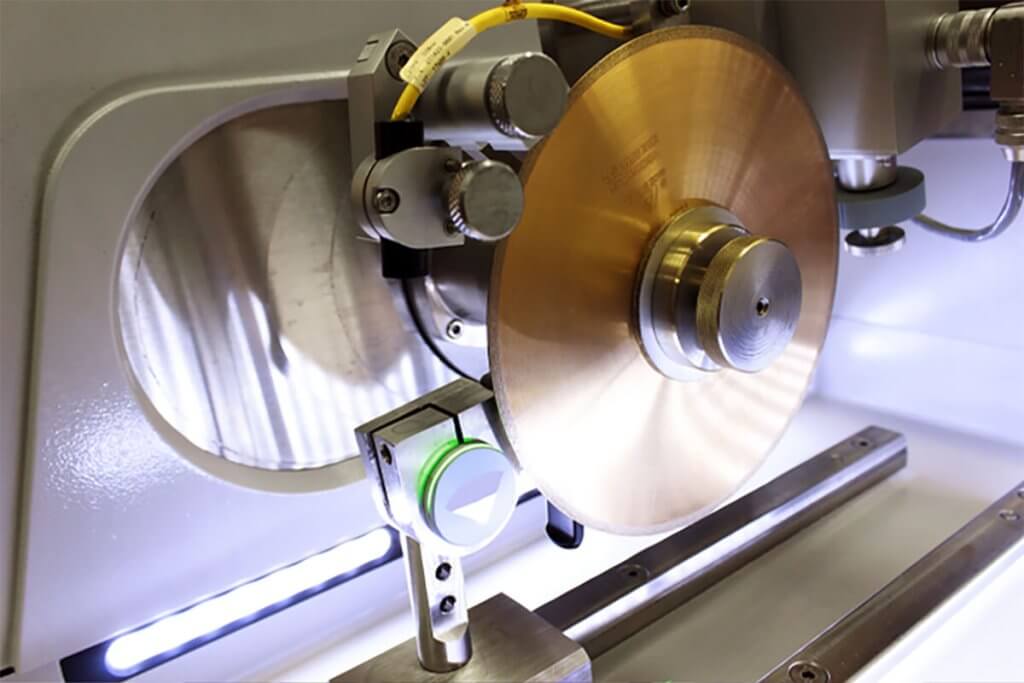
Additional benefits of using a precision cutter are a lower load is applied and consequently, less heat is generated, reducing the amount of damage.
Abrasive blades are also made for precision cutters. They can be used when potential for blades breaking is high. This could be if you have a difficult to clamp part, have a part that might shift during sectioning or you have more variability in the process (ex: multiple operators).
15HC precision blades are an effective way to section titanium components with a precision saw. Abrasive blades can be an alternative to the 15HC precision blades. When using abrasive blades there are some things to keep in mind. Cleaning out the recirculation tank will have to be done more frequently, the external recirculation tank is recommended when using the IsoMet High Speed. The diameter of abrasive blades is reduced as the blade wears while cutting. This will need to be accounted for when setting up a cut.
| Recommended Precision blades for titanium and titanium alloys | ||||
|---|---|---|---|---|
| 5in (127mm) | 7in (178mm) | Abrasive 7in (178mm) | 8in (203mm) | Dressing Stick |
| 11-4245 0.015in [0.4mm] | 11-4247 0.025in [0.6mm] | 11-4217 0.030in [0.75mm] | 11-4248 0.035in [0.9mm] |
11-1190
11-2490 |
Titanium and Titanium Alloys Mounting Tips
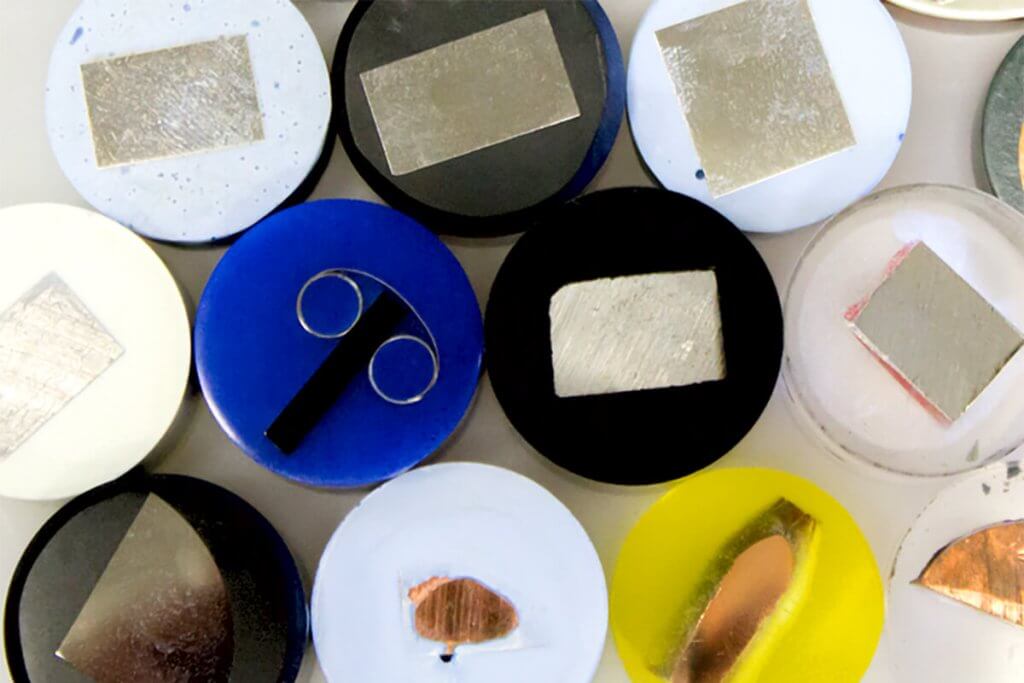
Mounting metallographic samples can allow automation and increase ease of handling during the subsequent steps of metallographic preparation and examination. Intricately shaped samples can be mounted to create uniform shapes allowing automation of the sample preparation process.
A secondary purpose is to protect and preserve edges or surface defects during metallographic preparation. The method of mounting should in no way alter the microstructure of the specimen. Pressure and heat are the most common sources of injurious effects. Temperatures around 350oF and pressures around 4200 PSI are common for hot compression mounting.
Sample geometry and properties can determine the appropriate method for mounting aluminum samples. Use castable mounting when samples are thin or deformed easily. Samples such as these tend to be sensitive to high pressures. If samples are not sensitive to pressure hot compression mounting can be a time and money saver.
For electron microscopy ProbeMet might be the conductive media you are looking for. If copper content is of interest in the sample KonductoMet® is a conductive alternative to ProbeMet.
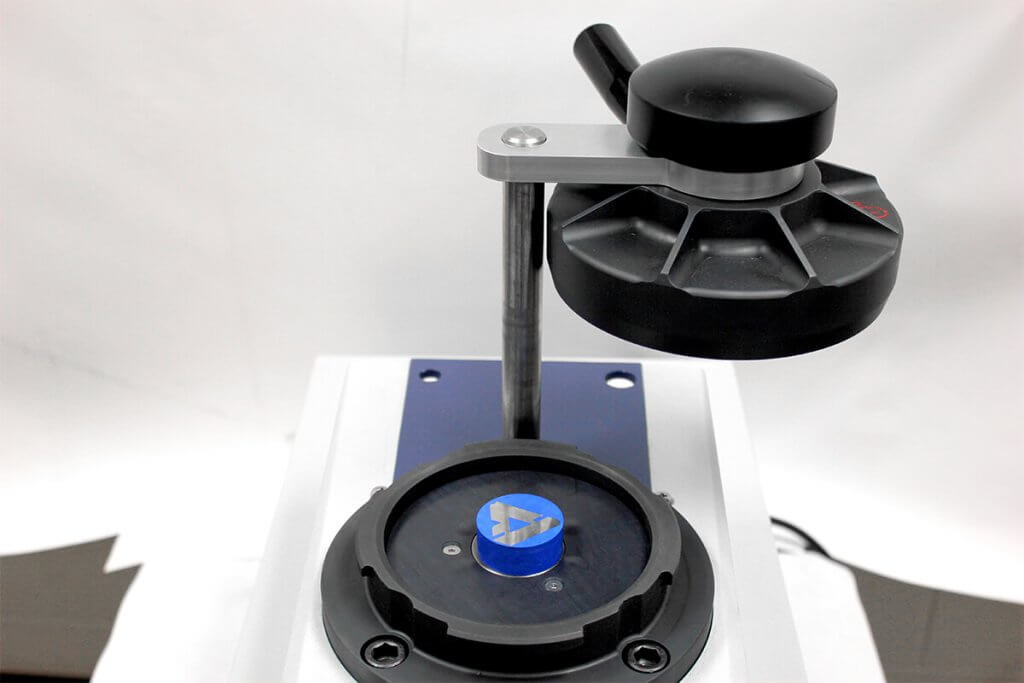
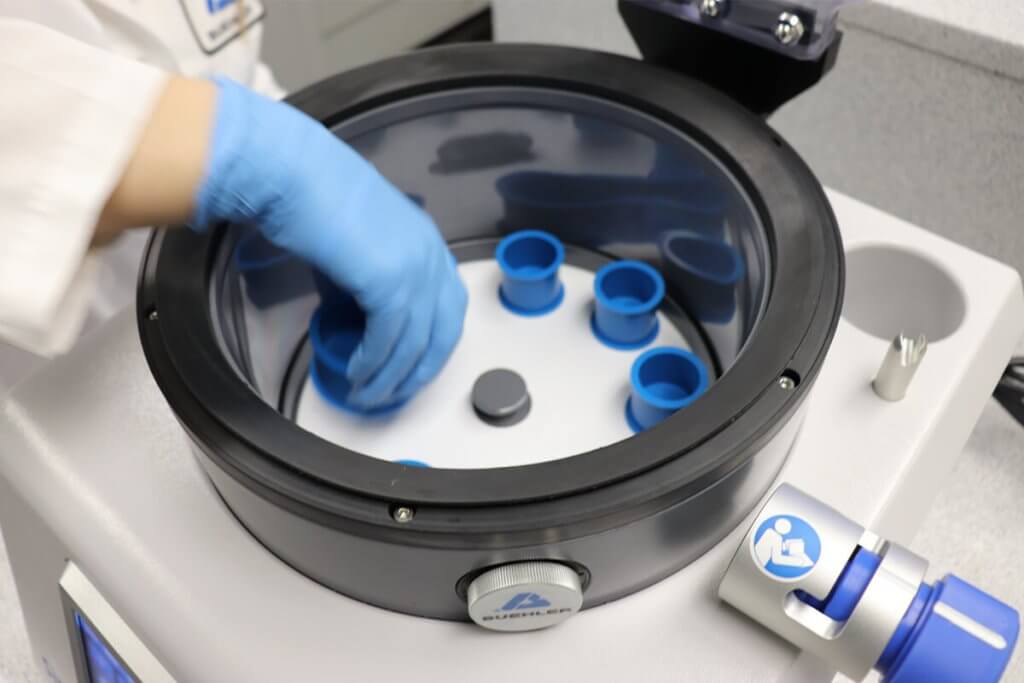
Careful selection can ensure media meets mounting needs regarding timing, viscosity, temperature, and shrinkage. Acrylic systems can increase throughput with quick cure times between 5 and 30 minutes. Though quicker in curing, sample adhesion and viscosity of acrylics can sometimes be lacking especially with more intricate shapes. This is where epoxy systems can help. With longer working times mixed epoxy can be used with a vacuum system to help penetration levels in intricate geometries.
If hydrides are a subject of interest then methods of mounting with lower temperature, a cast media option such as EpoxiCure® is a suitable choice.
Titanium and Titanium Alloys Grinding & Polishing Tips for All Methods

Titanium is an abrasion-resistant material. Times required for sectioning, grinding and polishing are longer than those seen when working with softer materials. If using silicon carbide paper, change the paper frequently (1-2 minutes) to ensure efficient grinding.
In some instances, for improved results when polishing, an attack polishing agent can be used with the final step. Two options used for attack polishing agents are:
- 1 part Hydrogen peroxide (30% concentration) to 5 parts of MasterMet® colloidal silica final suspension.
- 1 part Ammonium persulfate solution (10 gram per 100mL distilled water) to 5 parts MasterMet colloidal silica final suspension.
When using attack polishing agents it is important to wear the proper PPE to protect from the chemicals used.
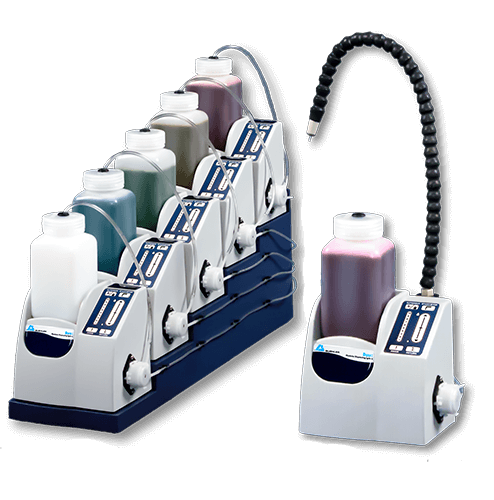
Using Buehler’s Burst dispensing system can conserve diamonds and improve consistency.
The ideal rate for the Burst dispensing system changes with the size of the platen and the polishing cloth that is being used. As a general guideline, for platen size of 8” a burst setting of 3 is a good starting point, for sizes of 10″ and 12″ set the burst system to 4 and adjust as needed. Some experimentation may be required to determine optimal settings to ensure sufficient abrasive and wetting of the cloth. Burst dispensers are also capable of dispensing extenders simultaneously with diamond, if desired.
Loads listed in grinding and polishing methods are recommendations for one 1.25″ mounted specimen. If using central force during preparation the force listed should be multiplied by the number of samples being polished. For different sample sizes, use our load conversion calculator to determine the correct load for your application.
| Procedure for Grinding and Polishing Titanium and Titanium Alloys | ||||
|---|---|---|---|---|
| Surface | Loads [N] | Base Speed [rpm] | Relative Rotation | Time |
| CarbiMet® 320 grit | 6 [27] | 300 rpm |

|
Until Plane |
| UltraPad® with 9um MetaDi® Supreme Diamond | 6 [27] | 150 rpm |

|
10:00 |
| ChemoMet® with MasterMet® Colloidal Silica* | 5 [22] | 150 rpm |

|
10:00 |
 = Platen = Platen  = Specimen Holder *Plus MetaDi Fluid Extender as desired = Specimen Holder *Plus MetaDi Fluid Extender as desired
|
||||
| *Attack polish may be used, 1 part ammonium persulfate solution (10 g ammonium persulfate per 100 mL distilled water) or 1 part 30% hydrogen peroxide to 5 parts silica. | ||||
Titanium and Titanium Alloys Etching Tips
In the table, different etchant solutions are listed for etching titanium and other refractory metals. For commercially pure titanium, getting the surface scratch free for etching can be difficult. In that instance, the attack polish could help improve the final surface finish.
| Table 20.4: Refractory Metals - Ti, Zr, Hf, Cr, Mo, Re, Nb, Ta, W, and V | |
|---|---|
| Composition | Comments |
| 100mℓ water 1-3mℓ HF 2-6mℓ HNO3 | Kroll’s reagent for Ti alloys. Swab specimen 3-10 seconds or immerse specimen 10-30 seconds. |
| 200mℓ water 1mℓ HF | For Ti, Zr and alloys. Swab or immerse specimen. Higher concentrations can be used but are prone to staining problems. |
| 30mℓ lactic acid 15mℓ HNO3 30mℓ HF | For Ti alloys. Swab specimen up to 30 seconds. Decomposes, do not store. Good for alpha-beta alloys. |
| 30mℓ HCl 15mℓ HNO3 30mℓ HF | For Zr, Hf and alloys. Swab specimen 3-10 seconds or immerse specimen up to 2 minutes. |
| 45mℓ H20 (H2O2 or glycerol) 45mℓ HNO3 8-10mℓ HF | Cain’s chemical polish and etch for Hf, Zr and alloys. Can dilute aqueous solution with 3-5 parts water to stain the structure (swab specimen) after chemical polishing. Chemically polish and etch specimen by swabbing 5-20 seconds. Use polarized light. |
| 60mℓ HCl 20mℓ HNO3 | Aqua regia. For Cr and alloys. Immerse or swab specimen up to 1 minute. Use under a hood with care, do not store. |
| 30mℓ HCl 45mℓ glycerol 15mℓ HNO3 | Modified “Glyceregia.” For Cr and alloys. Immerse specimen up to a few minutes. |
| 100mℓ water 10g KOH or NaOH 10g K3Fe(CN)6 | Murakami’s reagent. For Cr, Mo, Re, Ta-Mo, W, V and alloys. Use fresh, can immerse sample for up to 1 minute. |
| 70mℓ water 20mℓ H2O2 (30%) 10mℓ H2SO4 | For Mo alloys. Immerse specimen 2 minutes. Wash with water and dry; immersion produces colors, swabbing produces grain-boundary etch. |
| 10-20mℓ glycerol 10mℓ HNO3 10mℓ HF | For Mo and Mo-Ti alloys. Immerse specimen for up to 5 minutes |
| 100mℓ water 5g K3Fe(CN)6 2g KOH | For Mo-Re alloys. Use at 68°F [20°C] by immersion |
| 50mℓ acetic acid 20mℓ HNO3 5mℓ HF | For Nb, Ta and alloys. Swab specimen 10-30 seconds. |
| 50mℓ water 14mℓ H2SO4 5mℓ HNO3 | DuPont Nb reagent. For Nb-Hf and Nb alloys. |
| 50mℓ water 50mℓ HNO3 1mℓ HF | Fo Nb-Zr and Nb-Zr-Re alloys. Swab specimen. |
| 30mℓ lactic acid 10mℓ HNO3 5mℓ HF | For Re and W-Re alloys. Swab specimen. |
| 10mℓ HF 10mℓ HNO3 10-30mℓ glycero | For V and alloys; grain-boundary etch for Ta alloys. Swab specimen. Equal parts used for Ta and high Ta alloys. |
| 100mℓ water 50mℓ Ethanol 2g NH4HF2 | Modified Weck's tint etchant. Good etchant for Ti and Ti alloys to reveal the grain structure. Use by immersion of sample until the sample surface is colored, usually around 15-25 seconds. The color thin film formation is more uniform if gently shake the sample during the etching process. The etch artifacts produced can be eliminated using only 25mℓ ethanol. |
Titanium and Titanium Alloys Imaging Tips

Depending on the alloy and application the goal of analysis can differ. Some common goals of analysis for titanium are grain size, phase percent, and coatings. Whether basic measurements or more advanced analysis techniques, OmniMet® software is the ideal tool for imaging needs.
Titanium and Titanium Alloys Hardness Testing Tips
| Reference Materials for Hardness Testing | ||
|---|---|---|
| ASTM | ISO | |
| Brinell | E10 | 6506 |
| Rockwell | E18 | 6508 |
| Vickers | E92,E384 | 6507 |
| Knoop | E384 | 4545 |
| Instrumented | E2546 | 14577 |
| Conversions | E140 | 18265 |
| ASM Handbook Volume 8: Mechanical Testing and Evaluation | Hardness Testing Section | |
At Buehler, the equipment offered is made to perform at least one of the following scales: Brinell, Rockwell, Vickers and Knoop. If utilizing a scale previously mentioned there are standards for the method of testing. Standards such as the ones listed in the table are good places to reference the proper method of testing for the scales. Requirements for equipment, samples, testing methods and more are described within that can help determine the correct scale.
Equipment capabilities vary in levels of automation and documentation. Some pieces are integrated with hardness testing software. Software such as Buehler’s DiaMet can assist with testing parts more efficiently, accuracy and result documentation. This can be especially helpful when a large amount of indents must be done on one part.
Related Products
All Solutions by Material
Choose a material to view Buehler's resources

Find Your Solutions
Full Lab
Metallography Solutions
Do you want to improve your process? Reach out for one-on-one help from our applications experts.

View all Products in the Buehler Product Catalog
Select a method by material
Search Buehler's Safety Data Sheets

Browse and search Buehler's product literature


