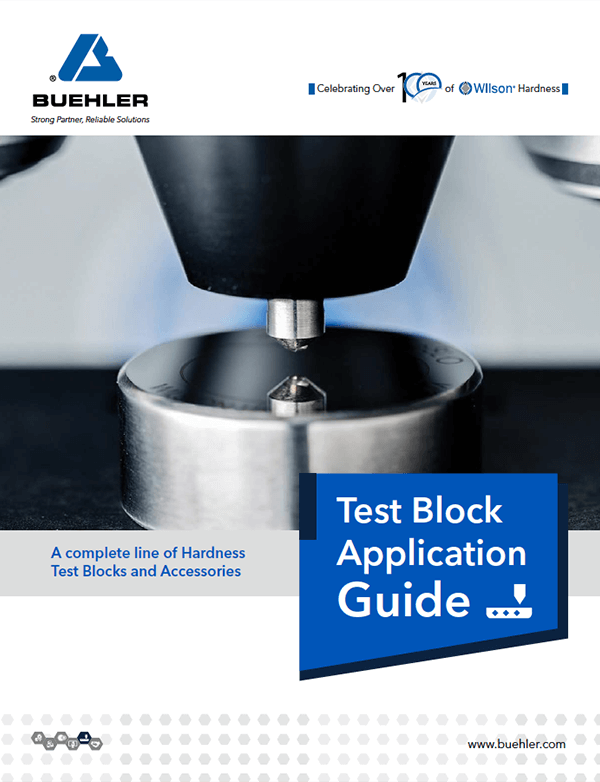
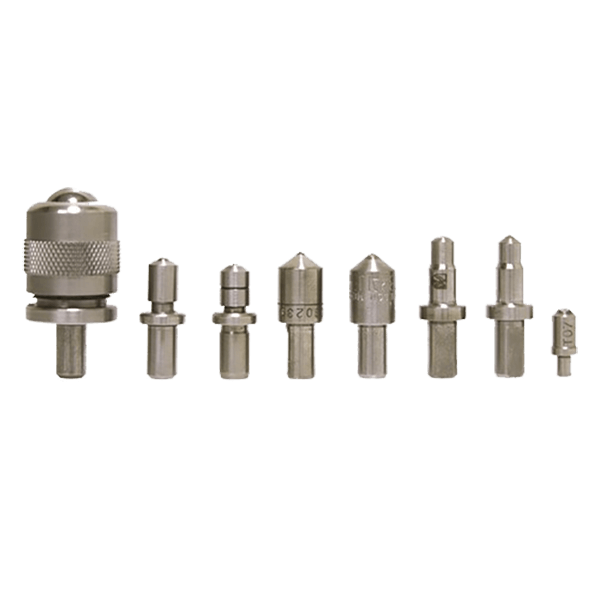
Wilson® Hardness Testing Blocks
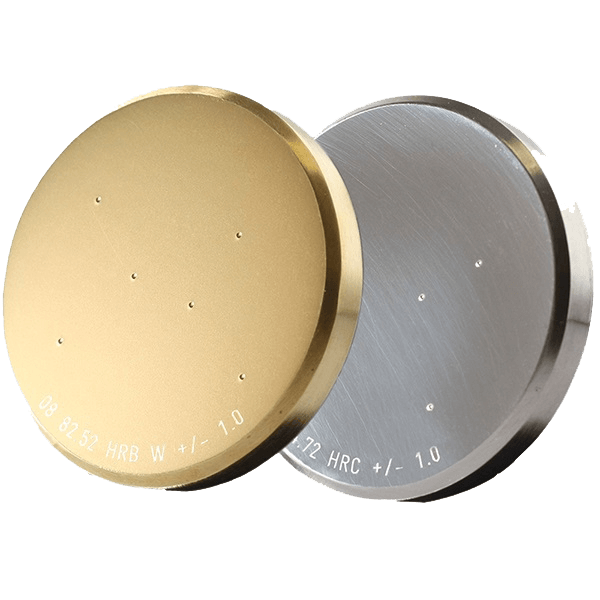

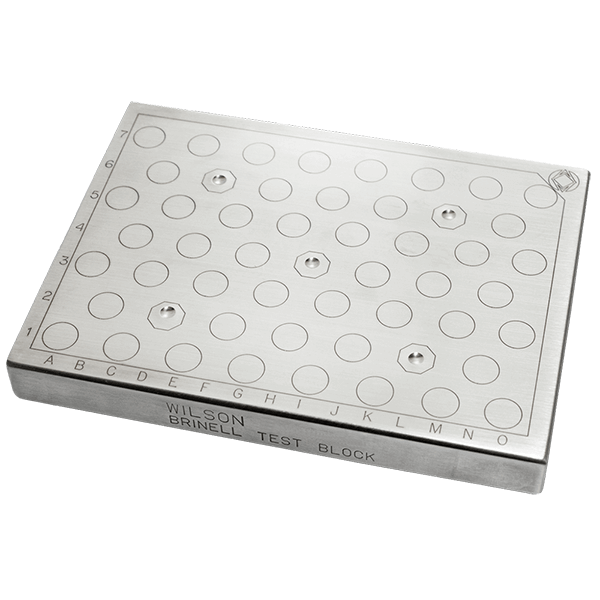

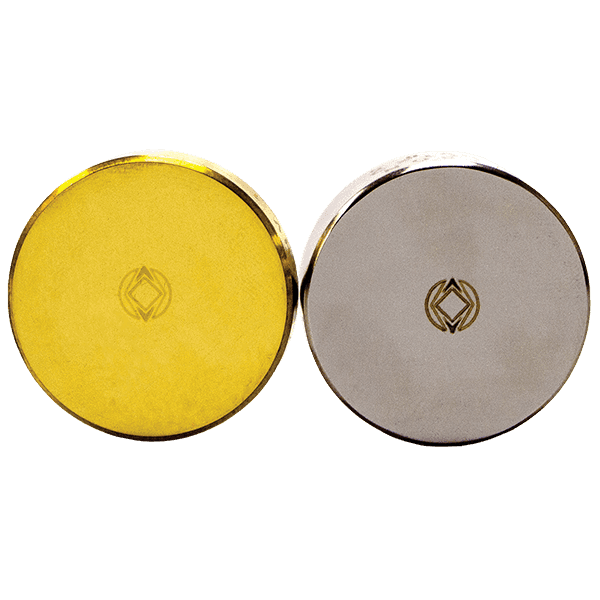
Wilson Hardness Test Blocks
Rockwell®, Brinell, Vickers and Knoop
- Buehler ensures strict control over tight specifications for heat treating to improve homogeneity and consistency. By applying our expertise in sample preparation and high-quality production, in-house processing delivers test blocks with the highest quality surface finish.
- All Wilson test blocks are calibrated in the Wilson Hardness Calibration Laboratory in Binghamton, NY. The Wilson lab is accredited to ISO-IEC 17025 by A2LA and the testers used in the calibration process undergo a stringent monitoring process using NIST traceable devices.
- The Buehler Test Block Calibration Laboratory employs state-of-the-art Buehler hardness testing systems for calibration, meticulously designed to ensure the utmost control and consistency throughout the calibration process.
Test Block Selection
Rockwell
- Daily verification shall be done for each Rockwell scale that is to be used.
- At least one test block with +/- 15 HR of the hardness expected to be measured.
- Alternatively, two test blocks may be used, one higher and one lower than the hardness expected to be measured.
- Indirect verification shall use 3 test blocks for each scale to be verified (one high, one medium, and one low range) with at least 5 HR difference between.
- Rockwell hardness values for high, medium, and low ranges are dependent on the Rockwell scale.
- If all three ranges are not available, the use the range(s) that are available, and also verify a different scale with the same test force using all three (high, medium, and low).
Vickers and Knoop
- Daily verification shall be done: for each VIckers and/or Knoop scale to be used (ASTM E92), fopr each indenter to be used (ASTM E384), and for each test force to be used (ISO 6507-1 & ISO 4545-1).
- At least one test block at approximately the same hardness value as the material to be measured.
- Indirect verification shall meet the following criteria:
- Minimum of two test blocks with at least one test block for each scale to be verified.
- At least two of the test blocks shall be from different hardness ranges.
- The difference between two blocks shall be a minimum of 100 points.
- The highest test force shall be verified on a block from the lower hardness range to product the largest indentation size. The lowest force shall be varified on a block from the higher hardness range to produce the smallest indentation size.
Brinell
- Daily verification shall be done for each Brinell scale that is to be used.
- At least one test block at approximately the same hardness value as the material to be used.
- Indirect verification shall meet the following criteria:
- Minimum of two test blocks with at least one test block for each test force to be verified.
- At least two test blocks, one low range and one high range, for each indenter ball size to be used.
- When more than one scale uses the same size indenter, the highest test force shall be verified on a block from the lower hardness range to produce the largest indentation size, and the lowest test force shall be verified on a block from the higher hardness range to produce the smallest indentation size.
- Each test block must be calibrated to one of the specific Brinell scales (combination of indenter size ad test force) being verified.
Ordering Information
Related Products
Proper Indent Spacing
Vickers
According to ASTM Standards:
The distance between two indents or an indent and the edge of the test piece shall be at least two and a half times the diagonal (dV) of the indentation.

According to ISO Standards:
The distance between the centers of two indents shall be at least three times the diagonal (dV) of the indent for steel, copper, and copper alloys, and at least six times for light metals, lead, and tin, and their alloys.
The distance between the center of an indent and the edge of the test piece shall be at least two and a half times the diagonal (dV0 for steel, copper, and copper alloys, and at least three times for light metals, lead and tin and their alloys.

Knoop
According to ASTM Standards:
The distance between two indents shall be at least two times the diagonal (dK) of the indentation and two and a half times the width (dW) of the indentation. The distance between the center of an indentation and the edge of a test piece shall be at least one diagonal (dK) or two and a half times the width (dW) of the indentation.


Rockwell and Brinell
According to ASTM and ISO Standards:
The distance between the centers of two adjacent indentations shall be at least three times the diameter (d) of the indentations.
The distance from the center of any indentation to an edge of the test piece shall be at least two and a half time the diameter of the indentation.
According to ISO Standards:
The distance between two indents shall be at least two times the diagonal (dK) of the indentation and three and a half times the width (dW) of the indentation. The distance between the center of an indentation and the edge of a test piece shall be at least one diagonal (dK) or three and a half times the width (dW) of the indentation.


Find Your Solutions
Full Lab
Metallography Solutions
Do you want to improve your process? Reach out for one-on-one help from our applications experts.

View all Products in the Buehler Product Catalog

Select a method by material

Search Buehler's Safety Data Sheets

Browse and search Buehler's product literature

