United States | EN
 Canada | EN
 United Kingdom | EN
 German | DE
 France | FR
 Mexico | ES
 Japan | JA
 China | ZH
Metallography Grinding and Polishing Machines
Manual Metallographic Grinding and Polishing Machines
Manual grinding is the process of holding the sample to the preparation surface by hand. It was historically in widespread use, but it now typically only found in high-throughput laboratories as a means of eliminating the mounting step. Manual grinding requires a high level of operator skill to achieve consistent, high-quality results. In addition, manual grinding and polishing may introduce ergonomic strain and potential safety concerns. Manual techniques are based on long-established practices. The following guidelines provide key considerations for achieving successful results in manual grinding and polishing.
Specimen Manipulation:
- The specimen is held with one or both hands, depending on the operator’s preference. It is important to hold the specimen steady and apply pressure consistently.
- In grinding and intermediary polishing steps, the specimen is held on one side of the polishing surface, without moving around the platen, such that a substantively linear scratch pattern is created. To ensure uniform material removal and even distribution of abrasive particles, the specimen is continuously moved back and forth between the center and the edge of the wheel. Following each preparation step, the specimen is rotated by approximately 45° to 90° to easily identify when scratches from the prior stage have been removed.
- For the final polishing step only, the specimen is rotated in a direction counter to the rotation of the polishing wheel, in order to avoid directional polishing effects such as comet tails. The specimen is typically moved in a spiral or oval such that the whole polishing cloth is used evenly.
The correct amount of applied pressure depends on the sample and must be learned through experience. In general, firm and consistent hand pressure is needed.
Semi-Automatic Mechanical Grinding and Polishing Machines
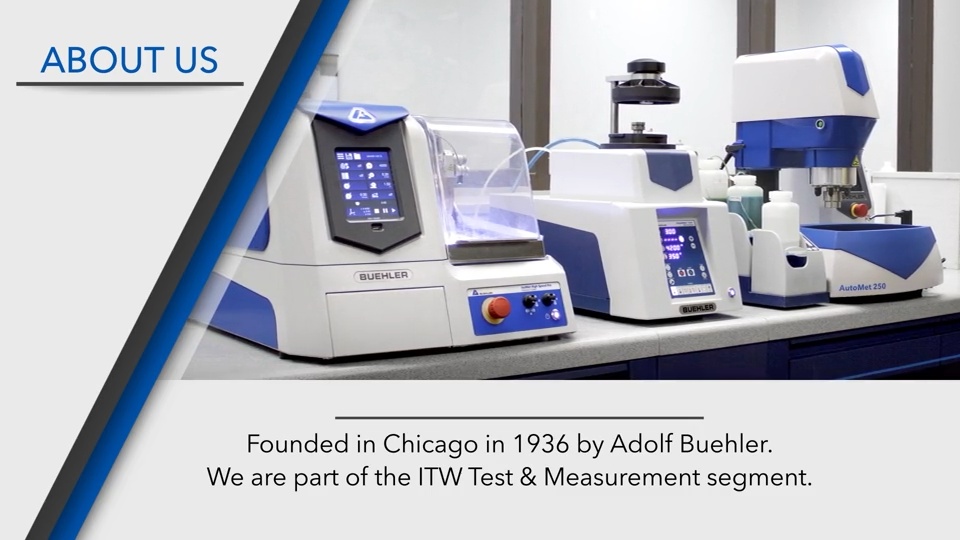
Mechanical polishing can be extensively automated through a wide range of equipment, from relatively simple systems to advanced, programmable units with touchscreen interfaces. These systems vary in capacity, accommodating anywhere from a single specimen to multiple specimens simultaneously, and are suitable for all stages of grinding and polishing.
Semi-automated polishing systems enable high-throughput specimen preparation, providing improved consistency, superior surface quality, and reduced consumable usage compared to manual methods. These systems enhance surface flatness and edge retention, which are critical for accurate metallographic analysis.
Two primary approaches are used for specimen handling in automated polishing:
Central Force vs Individual Force
Central Force Method:
In the central force approach, specimens are securely mounted in a holder, with each sample rigidly fixed in position. A uniform force is applied downward to the entire specimen holder, pressing all samples simultaneously against the preparation surface. This method provides excellent surface flatness and optimal edge retention. However, it offers limited flexibility during processing as the sample must stay fully secured in the holder throughout. Specimens cannot be remounted in the holder without repeating the entire preparation sequence. In practice, technicians often bypass this limitation by manually reworking the final polishing step if re-etching is needed.
Individual (Single) Force Method:
In contrast, the individual force method uses a specimen holder in which samples are held more loosely, with force applied independently to each specimen. This approach allows individual specimens to be examined or adjusted during the preparation cycle without disrupting the entire batch. Additionally, if etching results are inadequate, a specimen can be reprocessed individually.
The primary limitation of the individual force method is the potential for slight specimen movement or rocking, particularly during heavy grinding or when specimen height is excessive. This can negatively affect overall surface flatness compared to the central force approach. This is particularly important for very hard materials, or the examination of edge features on any sample.
Overall, the selection between central and individual force methods depends on the balance between preparation quality, throughput efficiency, and process flexibility required for the specific application.
Manual vs. Semi-Automatic Grinding and Polishing FAQs
Manual grinding and polishing utilize hands instead of a machine to conduct the grinding and polishing.
Yes, with all Buehler grinder and polishing machines, semi-automatic machines can be used to do manual grinding. The head can be moved from over the platen to allow more room for manual grinding.
Central force often yields better sample flatness and can also polish a higher number of smaller sample sizes. By keeping the sample in place with the specimen holder through all phases of the grinding and polishing phase the plane is kept more consistently than when using single force. If using the AutoMet 300 there are specimen holders for the smaller sizes (1.25inch/30mm and below) that can hold more than 6 samples at a time.
Single force is better when there is more variety in sample type and smaller batch sizes. When a smaller number of samples are being prepared (less than 3), single force can still be used to polish samples without issue. Single force also works when samples vary in wear rate. Single force allows samples to grind independently from one another.
Central can yield better flatness if samples are appropriately balanced around the specimen holder to wear at a consistent rate.
Manual grinding can be used to eliminate the mounting step, though it requires more expertise and training to get a satisfactory surface quality.
On This Page
Need Help with your Sample Preparation?
Our application specialists can help you develop the right grinding and polishing process for your material and analysis needs.
Explore the Metallographic Grinding and Polishing Guide Series
Metallographic Grinding and Polishing Guide
Explore in-depth guides covering key metallographic grinding and polishing methods, equipment, consumables, and techniques to help achieve consistent, high-quality sample preparation results.
Monocrystalline vs. Polycrystalline Diamond for Metallographic Polishing
Colloidal Silica vs. Alumina for Metallographic Final Polishing
Electrolytic Metallographic Preparation and Etching: Traditional vs. NeoTerra
Historically, electrolytic polishing has been applied in metallographic process inspection, particularly for materials that are difficult to prepare using conventional mechanical or chemical methods, such as stainless steels and titanium. Soft metals also benefit from electrolytic techniques, as achieving high-quality mechanical polishing can be more challenging. Electrolytic approaches are typically more suited to homogeneous materials, although innovative processes such as NeoTerra are widening the applicability of the approach.