How would you know if your Rockwell Hardness Tester will provide an accurate reading or is reliable?
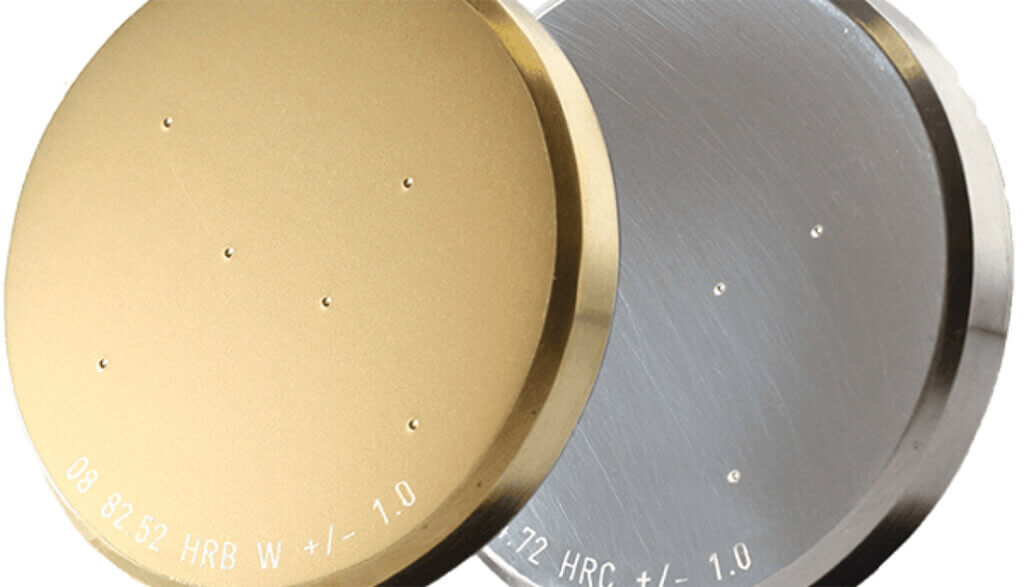
A typical way is to verify with a certified calibration test block. It is easy if you understand the basic principle of a Rockwell test and follow some simple guideline.
A Rockwell test is the measurement of the difference in depth of an indenter at two separate loads. It measures the depth in millionths of an inch and so can be sensitive to any undesired movement or vibration during the test process. Following the simple procedures outlined below helps ensure accuracy and reliability.
Before using a test block to verify that the Rockwell tester is in calibration, the anvil and the indenter being used will need to be checked. Make sure that the indenter, diamond or ball, has the proper ASTM or ISO certification and is not chipped or damaged. Then, select the flat or pedestal anvil that will be used and inspect the surface for any nicks or indents. The seating surface of the anvil and indenter along with the surfaces of the elevating post and plunger rod where they attach to the Rockwell tester should be clean and free of debris. Cleanliness is critical, remember 0.000080″ (0.000040″ for superficial scales) in movement or depth is a Rockwell point; a half of a point to two points is the acceptable tolerance of a test block itself, not the final test result (the hardness tester has its own testing tolerance as well).
The next step is to make one to three tests to seat the anvil and indenter before recording the result. Since no material is homogeneous, all Rockwell test blocks will have a tolerance. Take three to five tests at different locations on the block and calculate the average. ASTM recommends that the distance from center to center of an indent is three indent diameters away from another indent (ISO recommends four indent diameters away), to avoid the residual stress and cold working that the previous indentations have induced.
Indents too close together cause multiple issues; high or low results, damage to the test block where it is unusable or unstable, a false positive (is the tester really in calibration or are you seeing the effects of the residual stress or cold working?), breaking an indenter because it gets so close to another indent, or having to write a response to an auditor to report a non-conformity. Test blocks must not be re-polished and indents must not be made on the bottom side of a test block, as they would invalidate test block certification and affect actual test results.
See our distributor’s video on the Wilson Rockwell 574 and learn more about this here and find your area representative here.


